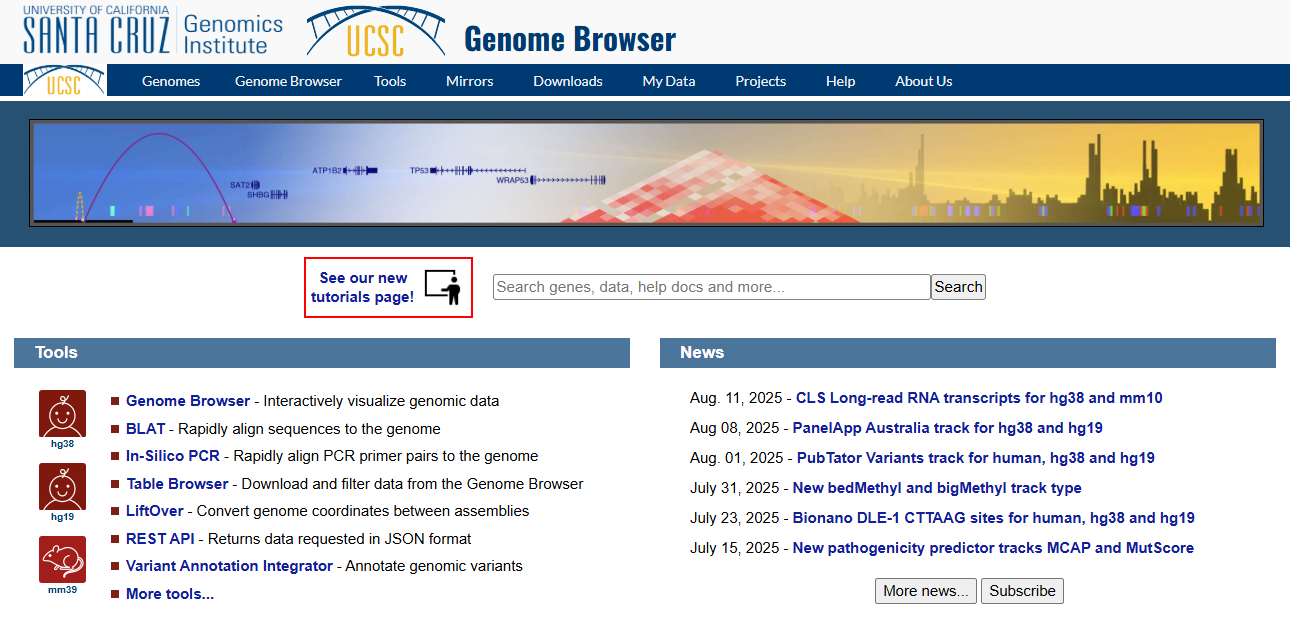
UCSC Genome Browser: Setup
Last updated on 2025-12-22 | Edit this page
Overview
Questions
- How do we navigate the web interface of the UCSC Genome Browser?
Objectives
- Become familiar with basic navigation and configuration of the UCSC Genome Browser
Navigating the UCSC browser
Many of the tools that we will explore in this section can be selected via multiple different routes within the browser interface:
- Many tools can be accessed via the top toolbar on a pull down list
- Other tools can be accessed from within the browser window
In the following instructions, we will mostly navigate through successive lower levels from the pull-down menu from the top toolbar. Code-style text indicates buttons to click or options to select from a pull-down menu, with successive instructions indicated by > . For example: the below indicates that you should select Genome Browser from the top tool bar and then click on Reset all user settings.
Toolbar > Genome Browser > Reset all user settings
The UCSC Genome Browser is supported by a rich training resource which has new material added regularly to the YouTube channel.
To access training and develop your skills further, go to:
Toolbar > Help > Training
WARNING
Weekly maintenance of the UCSC browser occurs at 2-3pm Sundays Pacific time (7-8am Mondays AEST / 8-9am Mondays AEDT). During this time the browser may be down for a few minutes.
To ensure uninterrupted browser services for your research during UCSC server maintenance and power outages, bookmark one of the mirror sites that replicates the UCSC Genome Browser.
More information and contacts for the UCSC Genome Browser can be found here.
Setting up your browser
1. Open the Browser interface
Navigate to the UCSC Genome Browser and sign in if you have an account.
2. Reset the browser
To ensure we all see the same screen, select:
Toolbar > Genome Browser > Reset all user settings
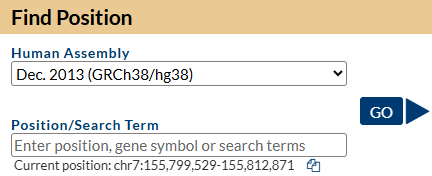
3. Select and open the human Genome Hg38 at the default position
Toolbar > Genomes
Ensure that GRCh38 is selected in ‘human assembly’ and click on the
blue GO box
You should see a view of the browser similar to the image below, opening at a position on chromosome 7 of Human genome version GRCh38 showing the gene model for the SHH gene. Some of the default tracks may have been updated since this screenshot was made.
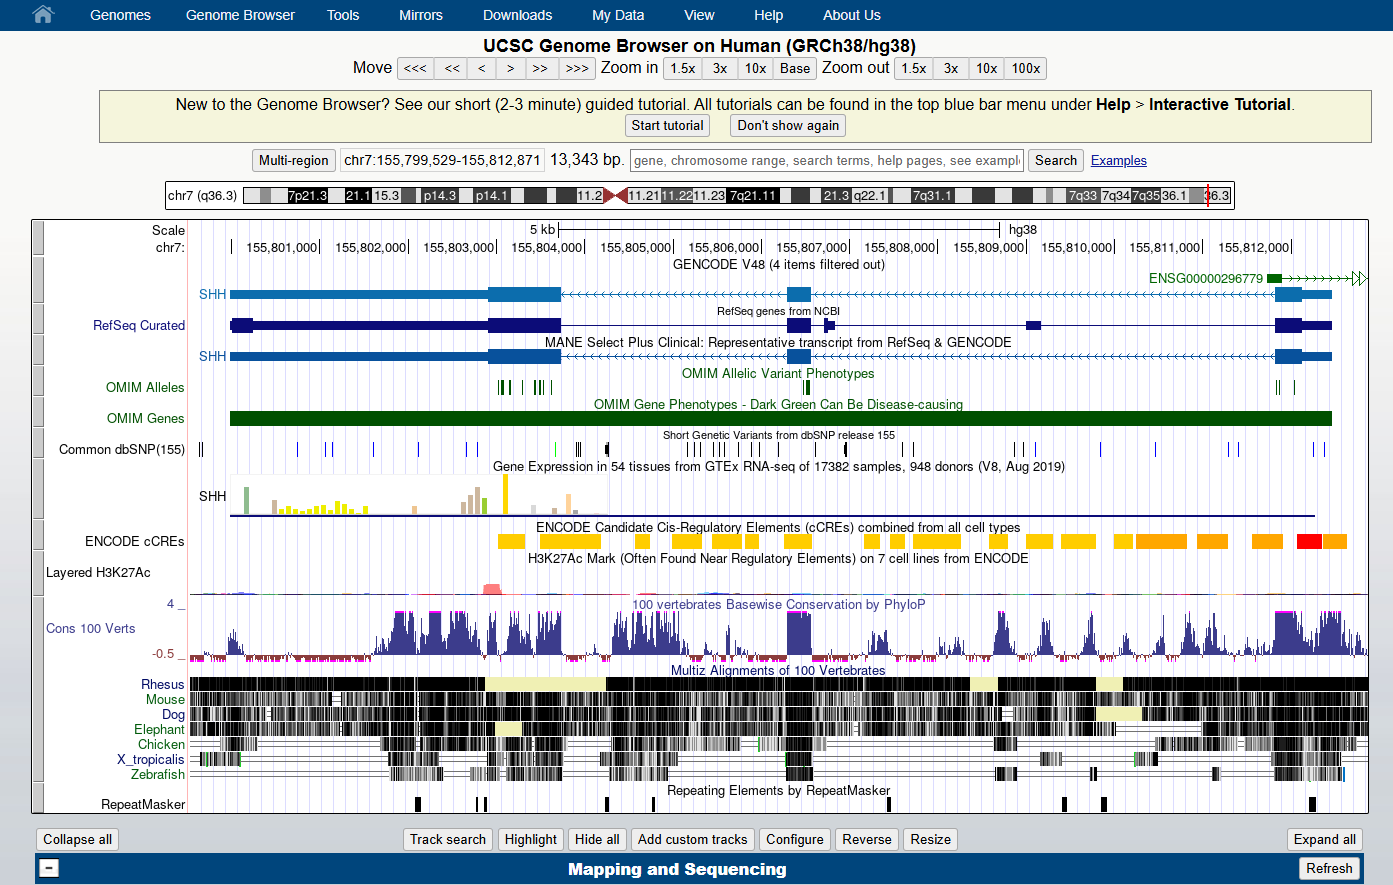
4. Familiarise yourself with the main areas of the interface
Can you locate:
- The main toolbar
- Blue bar track collections (data of similar types are collected together under the same ‘Blue bar’ heading). Scroll down to see additional data collections and which ones are turned on as default.
- Genome species and version number
- Position box
- Navigation tool buttons
- Chromosome ideogram
- Genome view window
- Pre loaded tracks, track titles:
- The grey bars on the left of the genome view can be used for selecting and configuring the tracks.
- You can change the order of the tracks by dragging these grey bars up and down.
- Turn tracks on and off:
- You can hide tracks by right clicking on the grey bar or by turning them off in the Blue bar collections.
- You have to click on a ‘refresh’ button for changes to be reflected in the genome view window.
- View the configuration page for one of the tracks.
The configuration page gives you a lot of information about the data
track and its colouring. You can open the configuration page for a track
by:
- clicking on the grey bar for the track or,
- clicking on the track title in the Blue bar collection. More information and options are usually available by selecting the configuration page for a track via the track title in the Blue Bar collections.
- Select the
resizebutton under the genome view to fit the genome view window to your screen
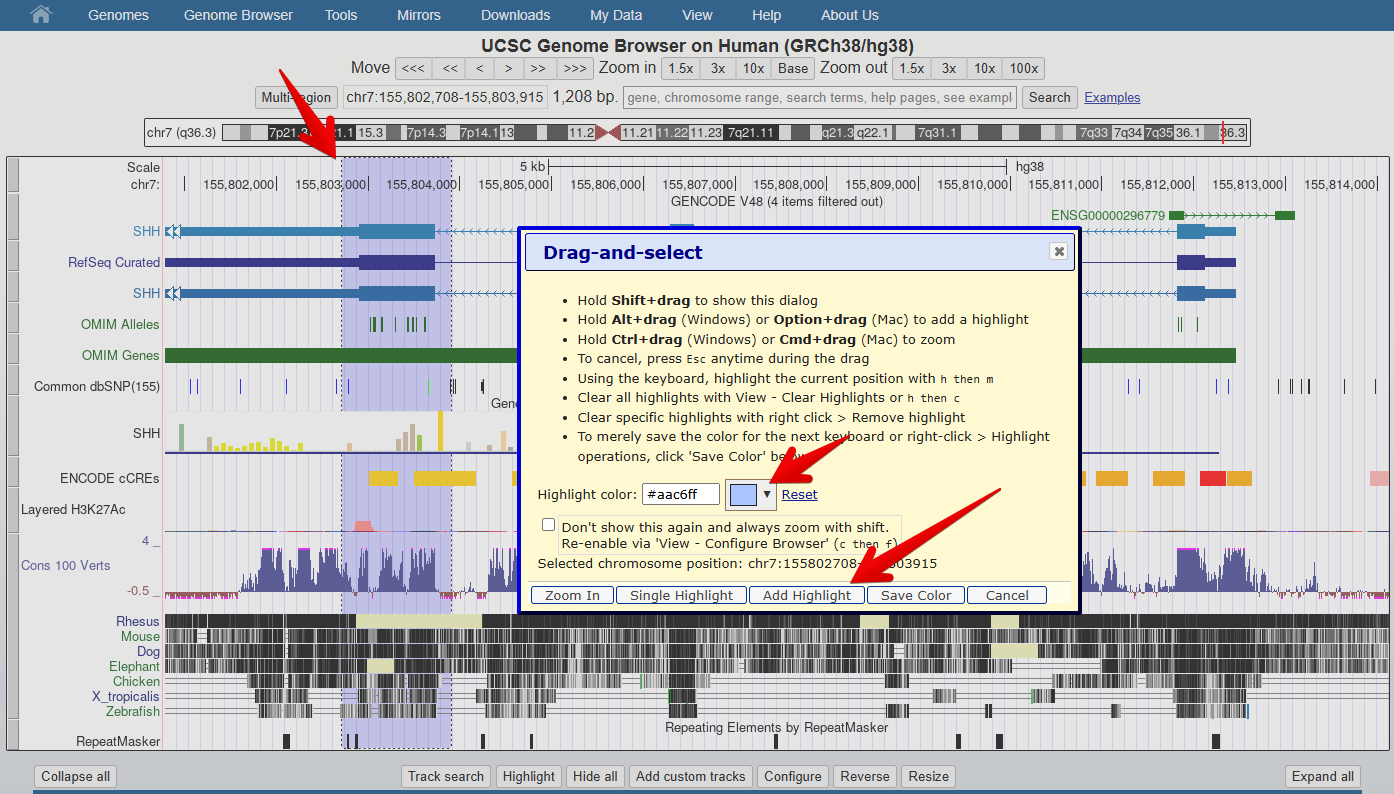
6. Practise navigating around the genome view
Can you practise:
- Moving left and right, using both the navigation buttons and your mouse
- Zooming in and out, using navigation buttons
- Zooming in to a region of interest, using
drag-and-select:- Using your mouse, select a region of interest by clicking the ruler (position track) at the very top of the genome view window. Hold down the left click and drag to select a larger region.
- This is also how to access the highlight tool which
you will use in a later exercise to highlight a region of interest.
- Click on the down arrow next to the highlight colour to select a different colour.
- Don’t forget to click
Add Highlightto save your highlighted region on the genome
- The UCSC genome browser can be easily configured according to your visual preferences and data needs